
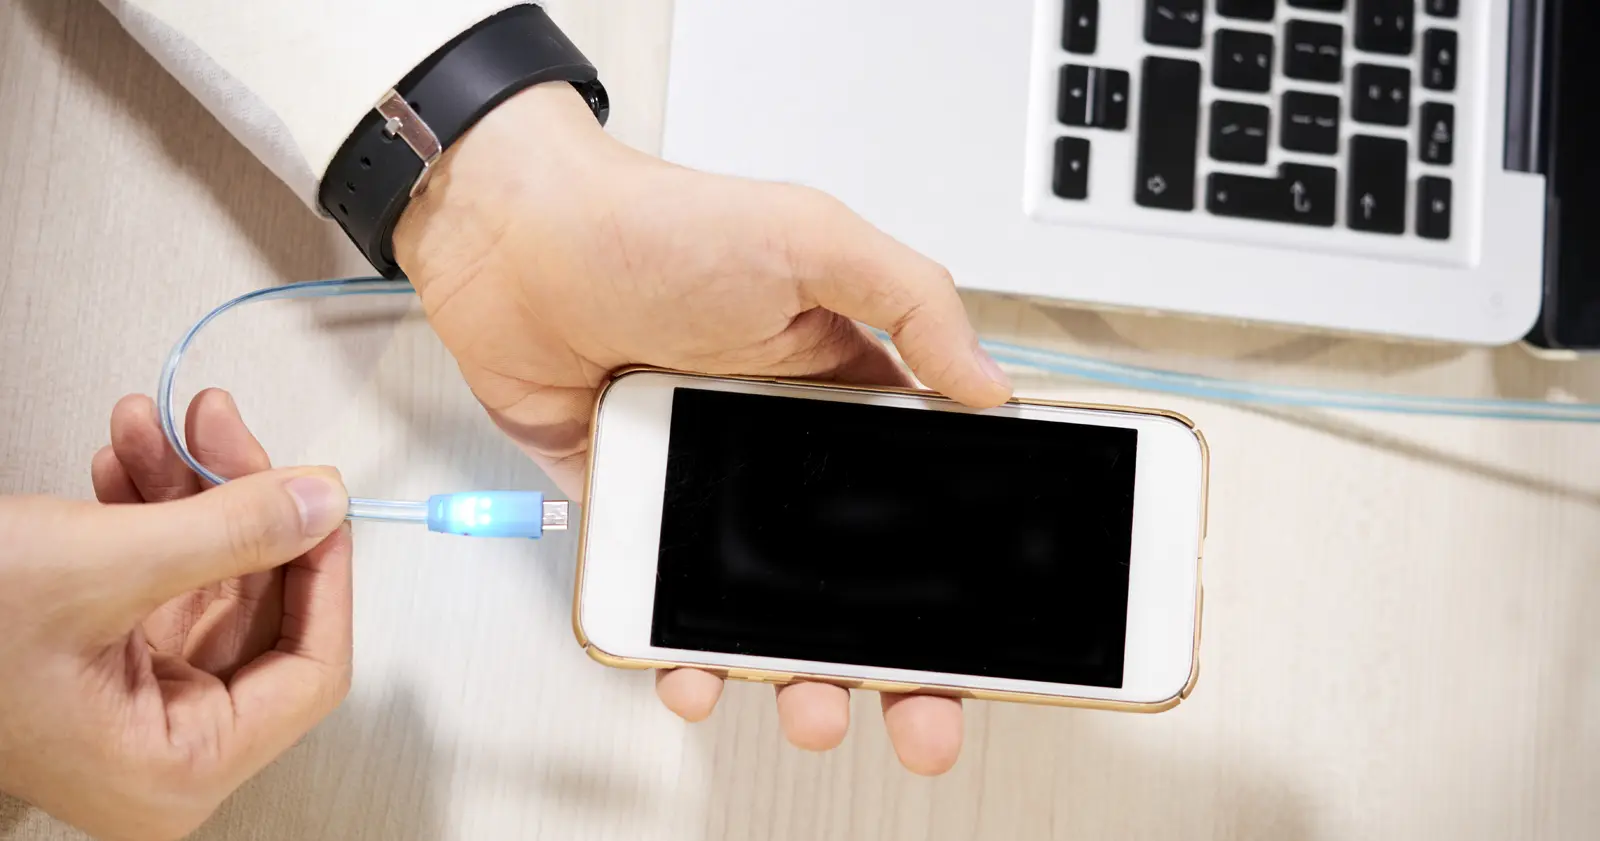
Your phone says storage is full, again, and half of what’s eating the space is two years of photos you never backed up anywhere else. Here’s every real way to get them onto your computer safely, without losing quality or spending your afternoon fighting with cables that only charge and never transfer data.
This guide covers Android and iPhone, Windows and Mac, and it’s organized by situation rather than just listing options in no particular order. Some methods are built for moving thousands of photos at once. Others are better suited to sending three photos to a friend’s laptop in the next ten seconds. Knowing which one fits your situation saves real time.
Why the Method You Pick Actually Matters
Not every transfer method treats your photos the same way. Messaging apps and some cloud services compress images to save space, which means the copy that lands on your computer isn’t always identical to the original. For casual photos, that’s rarely noticeable. For anything you’d actually want printed, edited, or kept long-term, it matters.
Speed is the other factor people underestimate. Wireless methods feel modern and convenient, but once you’re moving several gigabytes of photos, a cable is often dramatically faster and doesn’t depend on your Wi-Fi holding steady the whole time.
How to Transfer Photos From Phone to Computer With a USB Cable
A cable remains the most dependable way to transfer photos from phone to computer, especially when you’re moving a large batch at once. It doesn’t rely on both devices being on the same network, and there’s no file size limit to worry about.
Android to Windows or Mac
On Windows:
- Connect your phone to your computer using a USB cable.
- Swipe down on your phone’s notification shade and tap the USB connection notification.
- Select “File Transfer” (sometimes labeled “Transferring files”) rather than the default charging-only option.
- Open File Explorer on your computer. Your phone will appear as a drive — open it, then navigate to DCIM to find your camera photos.
On Mac: Android phones don’t show up automatically in the Mac Finder the way they do in Windows. You’ll need to install Android File Transfer, a free official app from Google, which lets you browse your phone’s folders and drag photos out just like you would on a PC.
iPhone to Windows or Mac
On Windows: Plug in your iPhone, unlock it, and tap “Trust This Computer” if prompted. Open File Explorer, find your iPhone listed as a device, and go to Internal Storage → DCIM to locate your photos.
On Mac: Open the Photos app, which detects a connected iPhone automatically. You can choose to import everything or select specific photos, and Mac handles the file conversion cleanly, so you won’t run into oddly formatted files.
One quick note: photos transferred this way sometimes appear as HEIC files from an iPhone, or with unfamiliar file names from Android. That’s completely normal — it’s just how the phone stores images internally, and picture quality isn’t affected.
Wireless Transfers: Quick Share, AirDrop, and Nearby Sharing
If you only need to move a handful of photos and both devices are within reach, skipping the cable entirely is usually faster.
Android to a Windows PC
Google’s wireless sharing feature, now called Quick Share (it used to be called Nearby Share before Google and Samsung merged their versions), has a dedicated app for Windows. Install Quick Share for Windows on your PC, make sure Bluetooth and Wi-Fi are switched on on both devices, then select your photos on your phone, tap Share, choose Quick Share, and pick your computer from the nearby device list.
iPhone to a Mac
This is the smoothest combination on this entire list. Open Control Center on your iPhone, confirm AirDrop visibility is turned on, select your photos, tap Share, and choose your Mac. A notification pops up on the Mac almost instantly, and accepting it saves the photos straight into your chosen folder.
iPhone to Windows (the awkward combination)
There’s no clean built-in wireless option here — AirDrop doesn’t talk to Windows PCs. For this specific pairing, cloud backup (below) or the USB cable method are genuinely your most reliable options.
Setting Up Automatic Cloud Backup
If manually transferring photos every few months feels like a chore you keep putting off, cloud backup solves the problem permanently instead of just for today.
Google Photos
Install the Google Photos app on your phone and turn on backup if it isn’t already active. From then on, every new photo syncs automatically, and you can access all of it on any computer by logging into photos.google.com — no cable, no app installation required on the computer side. For a full breakdown of storage limits, settings, and the backup-vs-sync distinction, see our complete guide on how to backup photos to cloud.
iCloud Photos
On an iPhone, this is typically enabled by default under Settings → [your name] → iCloud → Photos. On a Mac, synced photos appear directly in the Photos app. On a Windows PC, install iCloud for Windows, sign in with your Apple ID, and your photos will sync into a folder accessible through File Explorer.
The trade-off worth knowing: both services offer a limited amount of free storage, and once you pass it, you’ll be asked to pay for more space. If you want your photos fully backed up without ongoing cost, pairing occasional manual cable transfers with cloud sync gives you the best of both.
Other Ways to Move Photos, Ranked by When They Actually Make Sense
Email and messaging apps
Sending photos to yourself through email, WhatsApp, or Telegram works for a couple of casual shots, but most of these apps automatically compress images to reduce file size. That’s a real downside if you care about keeping full resolution, so treat this as a last resort rather than a regular habit.
A memory card
If your Android phone has a microSD card and actually stores photos on it rather than internal storage, you can remove the card, plug it into a card reader, and copy the files directly — no app needed. This only works if your phone is configured to save photos to the card, which isn’t the default setup on most modern phones.
Third-party transfer software
Tools like Samsung Smart Switch or MobileTrans are built for larger jobs, particularly switching to a new device entirely rather than a routine photo backup. For everyday transfers, they’re usually solving a problem the built-in options above already cover.
Bluetooth
Bluetooth works between almost any two devices, which is its one advantage. It’s genuinely slow — a single photo can take several seconds, and a full album can take several minutes — so it’s worth using only when nothing else is available.
Which Method Should You Actually Use?
- Moving your entire camera roll for the first time: a USB cable.
- Sending a few photos right now, both devices nearby: Quick Share (Android) or AirDrop (iPhone/Mac).
- Want backups to happen automatically going forward: Google Photos or iCloud sync.
- iPhone to a Windows PC, no cable on hand: iCloud for Windows, or cloud backup as a fallback.
Common Problems When You Transfer Photos From Phone to Computer
Phone doesn’t appear as a drive when plugged in. Check that the USB mode is set to File Transfer rather than charging-only, and try a different cable — some budget cables only carry power, not data.
Wireless transfer can’t find the other device. Confirm Bluetooth and Wi-Fi are both enabled on each device, and keep them physically close together during the transfer; both Quick Share and AirDrop rely on a short-range connection.
Photos look lower quality after transferring. This almost always means they went through a messaging app or email, both of which compress images. Re-transfer using a cable or cloud sync to preserve the original quality.
Cloud storage is full and backup has stopped. Both Google Photos and iCloud pause backup once you hit your free storage limit. Either clear out older backups you no longer need or upgrade your storage plan.
Once you’ve picked the method that fits your situation, transferring photos from phone to computer takes minutes rather than the better part of an afternoon — and doing it regularly means you’ll never again be staring at a “storage full” warning with no backup to fall back on.